It’s that time of year again when the temperature drops and your garden hose needs some extra care. To prevent damage and ensure your hose remains in top condition for spring, you’ll want to take a few simple steps to winterize it properly. This guide will walk you through the necessary preparations, including draining water, storing techniques, and protecting your hose from freezing temperatures, allowing you to protect your investment and ensure you’re ready to use it when warmer weather returns.
Draining and Drying Your Garden Hose
Proper Techniques for Draining
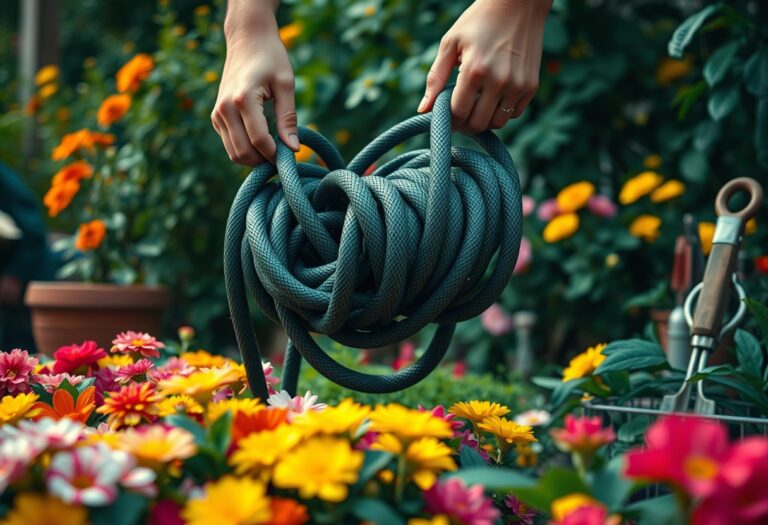
Your first step in preparing your garden hose for winter involves effectively draining any residual water. By starting at the spigot, detach your hose and position it in an elevated manner—this will allow gravity to aid in the water’s expulsion. As you hold the hose elevated, gently coil it in a circular motion, encouraging any trapped moisture to flow towards the end. Be sure to ensure that both ends of the hose are lower than the middle to facilitate a thorough drain. In this way, you can help prevent water from being trapped in the bends and curves of your hose that could freeze and expand during the cold winter months.
Ensuring Complete Drying
By following up the draining process with thorough drying, you can effectively stave off the growth of mold and mildew within your garden hose. It is vital to lay your hose flat in a dry, sheltered area where it can fully air out. If the weather permits, leave it in the sunshine for an additional time to ensure that any remaining moisture evaporates completely. If you notice any damp spots after the initial drying process, consider giving it more time to dry out, as this will ultimately prolong the lifespan of your hose and keep it in optimal condition for the next gardening season.
Draining your garden hose is only half the battle; ensuring complete drying is equally important. The presence of moisture can lead to mold and mildew, which not only creates unpleasant odors but can also cause damage to the material of the hose. Consequently, providing an extra drying period ensures that any hard-to-reach moisture is eliminated, safeguarding your investment against the damaging effects of the cold weather and extending its usability year after year.
1. Disconnect hose from outdoor faucet before freezing temperatures.
2. Drain all water to prevent freeze damage.
3. Store hose in a dry, sheltered location.
4. Avoid coiling hose tightly to prevent kinks.
5. Use insulated covers for outdoor faucets.
6. Inspect hose for wear and repair before storage.
Using Antifreeze or RV Winterizing Solution
Selecting the Right Antifreeze
The choice of antifreeze or RV winterizing solution is vital when preparing your garden hose for winter. You should opt for a non-toxic product that is safe for both the environment and your plants. Many traditional antifreeze options contain harmful chemicals that can seep into your garden soil, potentially affecting the health of your vegetation. Therefore, look for organic or biodegradable solutions that can effectively prevent the freezing and bursting of your hose without posing a risk to your garden.
On your quest to find the ideal antifreeze solution, it is vital to read labels and verify that the product states it is safe for potable water systems. Many RV winterizing solutions are specifically designed for this purpose. By selecting these types of products, you ensure that your efforts to winterize your garden hose do not compromise the safety of your outdoor space, promoting a greener and healthier gardening experience.
Application Tips
Using antifreeze correctly is key to effectively winterizing your garden hose. Begin by gathering your supplies, including a funnel to aid the application process. Start by disconnecting your hose from the water source. Hold the funnel at one end of the hose and pour in the antifreeze solution, allowing it to flow through the entire length of the hose. It’s important to ensure that all sections of the hose are treated to prevent water from freezing in any residual areas.
- Disconnect the hose from the faucet to avoid any remaining water from freezing.
- Use a funnel for smooth application and to minimize spillage.
- Pour a generous amount of antifreeze into the hose, making sure it coats all interior surfaces.
- Hang the hose to drain any excess antifreeze out properly.
Recognizing the importance of a thorough application will greatly extend the life of your garden hose, ensuring it remains in top condition for the seasons to come.
Using a funnel not only simplifies the pouring process but also helps you monitor how much antifreeze solution you’re using. Make sure to switch ends if needed, allowing any trapped water to escape completely while the antifreeze circulates through the entire hose. Follow through with the application until you see the antifreeze flowing out of the other end, confirming that the treatment has reached every section.
- Ensure that the antifreeze is fully drained from the hose to avoid any leftover residue.
- Inspect the hose for any damages before storing it away for the winter.
- Store your hose in a protected area to prevent extreme temperature fluctuations.
Recognizing and applying these simple tips will not only protect your investment but also ensure a smooth transition for your gardening tasks come spring.
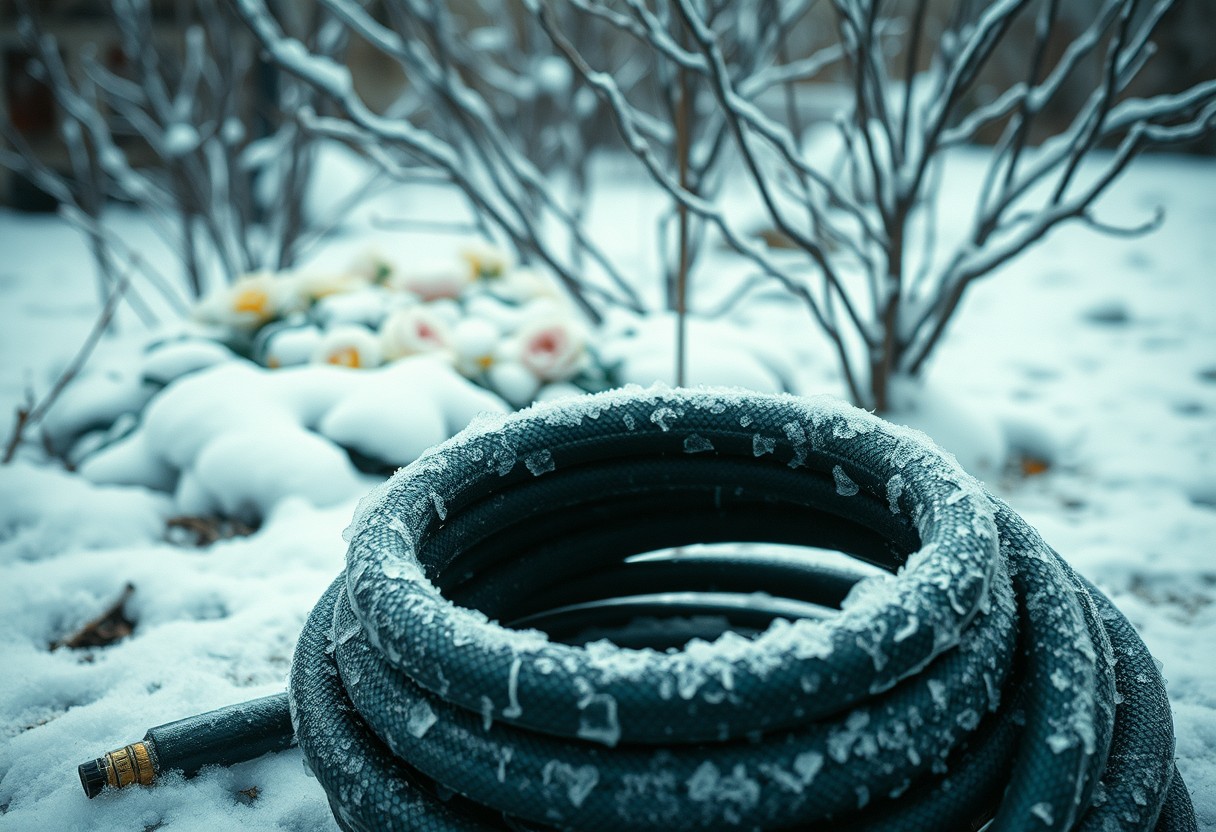
Insulating Your Hose and Faucets for Added Protection
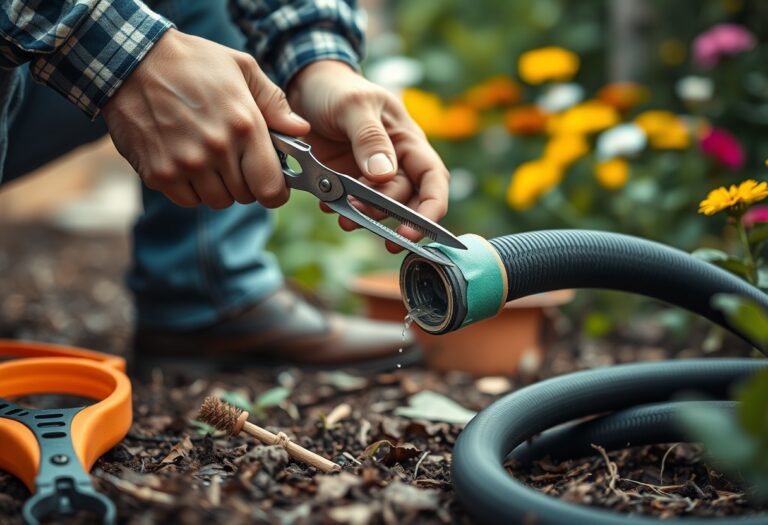
All garden hoses and outdoor faucets are susceptible to freeze damage during cold weather. To maintain their longevity and functionality, it’s important to provide adequate insulation. There are several options available to protect these important elements of your garden. Foam sleeves are a popular choice due to their ease of use and insulation effectiveness. They are versatile and can easily wrap around both hoses and faucets. Additionally, specialized insulating tape can be applied directly to faucets and hoses, offering a layer of insulation that can also resist moisture. Both options are designed to retain heat and prevent freezing temperatures from compromising your equipment.
Installation Techniques
On top of choosing the right insulation materials, knowing how to properly install them is key to protecting your garden equipment. Start by thoroughly cleaning both your hose and faucet to remove any dirt or debris that could affect adhesion. For foam sleeves, simply cut them to the appropriate length and slide them over your hose, ensuring they are snug and covering all vulnerable areas. When using insulating tape, start at the base of your faucet and wrap the tape around tightly, overlapping each layer by half to ensure full protection. Pay extra attention to the faucet handle and any exposed pipe to ensure they are well insulated against the cold.
To further solidify the integrity of your insulation, it’s advisable to check the materials periodically throughout the cold season for wear and tear. If you notice any gaps or damage to the foam sleeves or tape, replace them immediately to maintain adequate protection. For added coverage, you can also consider using old blankets or towels over your insulated hoses and faucets during particularly harsh cold spells, providing that extra layer of warmth and shielding against icy winds.
Options for insulation can vary depending on your unique garden layout and the materials you have on hand. If you have access to products specifically designed for outdoor use, such as heated tape, consider using them for an enhanced level of protection. Tailor your insulation strategy to your environment by assessing the particular challenges you face, such as wind exposure or extreme cold temperatures, allowing you to better prepare your garden hoses and faucets against the elements.
Storing Your Garden Hose During Winter
Unlike other outdoor tools, your garden hose requires specific care as winter approaches to ensure its longevity. Once you’ve drained and insulated your hose, it’s vital to store it correctly. The best method for storage involves coiling the hose neatly and avoiding any kinks that may lead to permanent damage. Aim to place your hose in a dry, sheltered location, such as a garage or a shed, where it is away from harsh weather conditions. This will help prevent freezing and cracking, allowing the hose to serve you well for many seasons to come.
Best Storage Practices
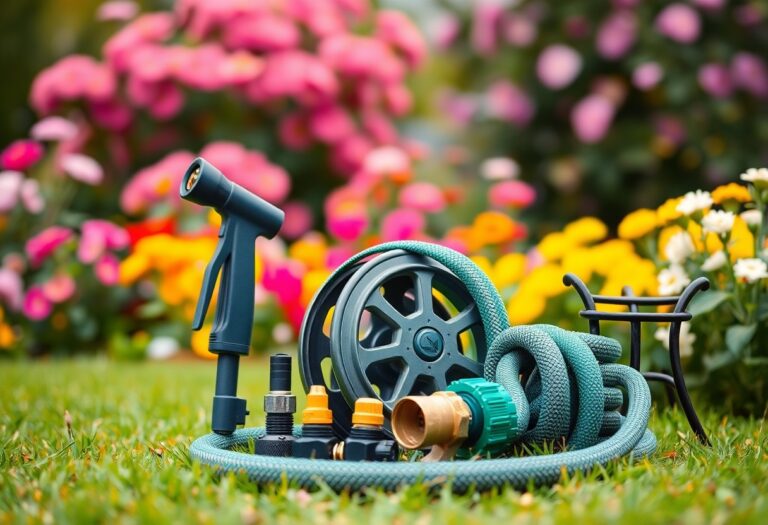
Against the backdrop of winter, preserving the integrity of your garden hose is an important task. To enhance its lifespan, consider using a hose reel or hanger that keeps it off the ground and protects it from unwanted moisture. Additionally, using protective insulation kits can further safeguard against extreme temperatures. By establishing a routine for proper storage, you ensure that your hose will be easily accessible and in excellent condition when spring arrives.
Seasonal Maintenance Checks
Maintenance checks on your garden accessories are important during winter months. Conducting regular inspections allows you to spot potential issues with your hoses and faucets early on, before they snowball into bigger problems. Pay attention to any signs of wear or leaks, as even the smallest issues can lead to significant trouble when the thawing period begins. By proactively addressing these concerns, you not only protect your gardening tools but also enhance the efficiency of your entire watering system.
Garden maintenance isn’t just a spring task; winter checks are equally important. Take a few moments to examine your faucet and any connectors to your garden hose. This can help you catch any surprises before you dive back into planting season. Proper checks also include ensuring no water remains trapped, as any leftover water can freeze and expand, potentially causing cracks or leaks that will need to be fixed before you can water your garden again. A little attention now can save you time and money later!
Protecting Additional Outdoor Water Features
Identifying Vulnerable Areas
After ensuring your garden hose is safely winterized, it’s vital to inspect and address other outdoor water features that may also be at risk during the colder months. This includes your sprinkler systems, outdoor faucets, and any water-based decorations that could be susceptible to freezing. Look for any exposed pipes or fittings in these systems, as they can easily become damaged if not properly prepared for the winter. Additionally, check for condensation traps or any standing water, as even small amounts can freeze and lead to potential issues.
Between your garden hose and additional outdoor features, a comprehensive approach is necessary to winterize them effectively. It’s advisable to make a list of all vulnerable areas, including outdoor showers and hoses connected to your irrigation system, to ensure nothing is overlooked. By addressing these areas proactively, you will protect your investment and ensure that your outdoor water infrastructure remains intact for the upcoming gardening season.
Specific Methods for Each Feature
Water systems need different winterization strategies, so start by draining your sprinkler system thoroughly. Turn off the water supply and use a compressor to blow out any remaining water, avoiding potential freeze damage. For outdoor faucets, install insulated covers or, alternatively, shut off the water valve inside your home and drain any residual water to prevent freezing. When considering decorative water features like fountains or ponds, consider draining them entirely and storing any pumps indoors. If leaving water in place, use a pond heater or aerator to prevent ice formation.
Each outdoor water feature has specific needs when it comes to winterization. For instance, if you have an inground sprinkler system, you need to ensure all zones are fully drained. You might also want to add antifreeze solutions specifically designed for irrigation systems to safeguard against low temperatures. For outdoor faucets, using pipe insulation can effectively help retain warmth during the colder months. By taking these actionable steps, you can secure your outdoor water features, ensuring they will be ready for use come spring.
Final Words
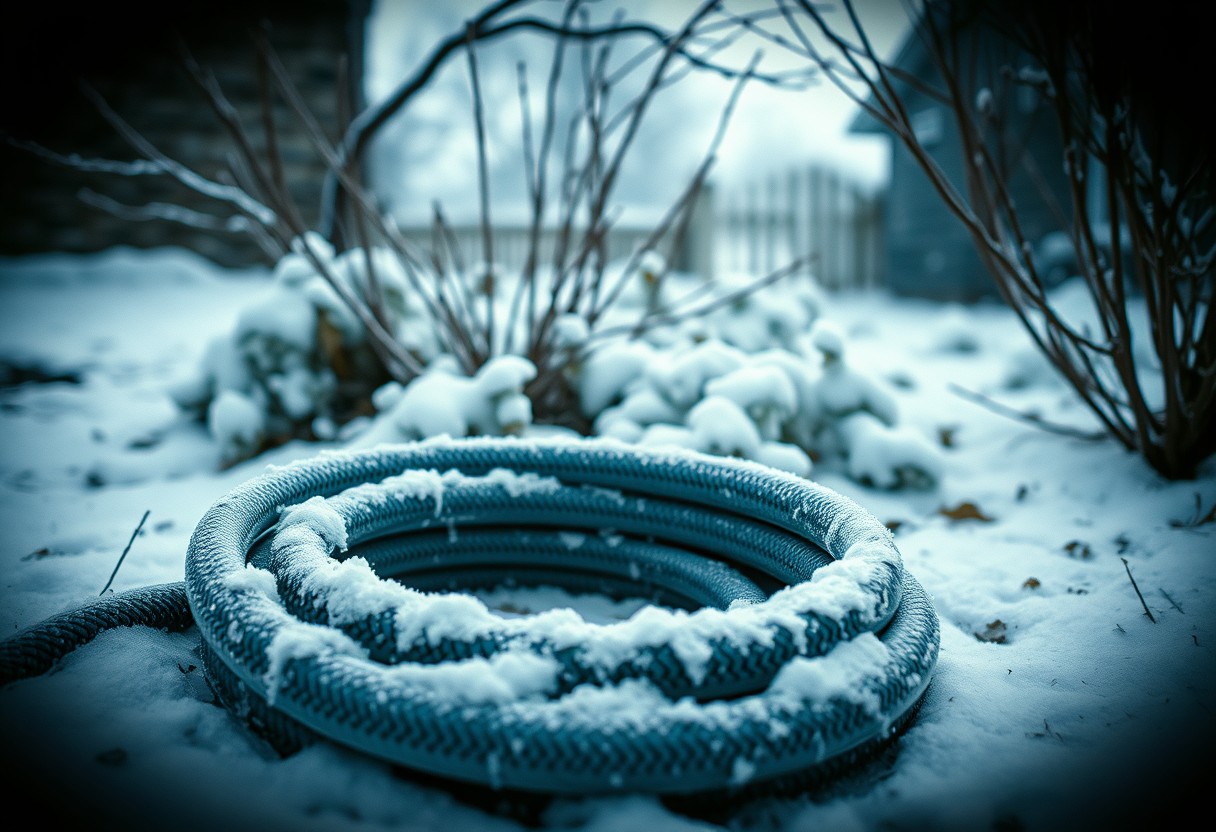
Considering all points, it’s clear that properly winterizing your garden hose is imperative for maintaining its longevity and ensuring optimal performance when spring arrives. By detaching, draining, and storing it in a protected area, you can prevent damage caused by freezing temperatures. It’s also helpful to use insulating materials or hose protectors if you live in particularly cold climates. Taking these simple steps will save you from the potential hassle of replacing a frozen or burst hose when the warmer months come back around.
If you’re looking for further guidance on protecting your garden hose from winter conditions, you should check out this great resource on How to Keep Your Garden Hose From Freezing This Winter. By following the tips outlined, you can feel confident that your garden tools will be in excellent shape for your gardening needs come spring, allowing you to focus more on your plants and less on maintenance.
FAQ
Q: Why is it important to winterize my garden hose?
A: Winterizing your garden hose is important because freezing temperatures can cause water inside the hose to freeze and expand. This can lead to cracks or damage in the hose material, necessitating costly replacements. Additionally, leaving hoses attached to outdoor faucets can lead to frozen pipes, which may burst and cause significant water damage to your home.
Q: What steps should I take to properly prepare my garden hose for winter?
A: To prepare your garden hose for winter, follow these steps: First, disconnect the hose from the outdoor faucet. Next, drain all water from the hose by holding it at an angle to let any residual water flow out. Once drained, coil the hose safely to prevent kinks. Find a dry, indoor location such as a garage or shed to store the hose. Lastly, if you have a hose reel, it’s a good idea to reel it up for added protection.
Q: Can I leave my garden hose outside during winter if I drain it?
A: While draining your garden hose minimizes damage, it is still not advisable to leave it outdoors during winter. Even a drained hose can become damaged due to intense cold and accumulated snow or ice. Storing it in a sheltered place away from freezing temperatures helps prolong its lifespan and keeps it ready for spring use.
Q: Is there any maintenance I should do before storing my garden hose for winter?
A: Yes, performing maintenance before winter storage is beneficial. Inspect the hose for any cracks, leaks, or signs of wear. This is a great time to clean the hose by rinsing it out and letting it dry completely to prevent mold and mildew. If any damage is found, consider repairing or replacing the hose before winter storage to ensure it’s in good condition for the next gardening season.
Q: What should I do with my outdoor faucet during winter to prevent freezing?
A: To prevent your outdoor faucet from freezing, disconnect any hoses attached to it and drain the faucet. Many homeowners also winterize their faucets by installing insulated faucet covers, which provide additional protection against freezing temperatures. Additionally, if you have access to indoor shut-off valves for your outdoor faucets, consider turning them off to minimize the risk of pipes freezing in extremely cold weather.

